Air Dry Projects: Simple Clay Teapot Ideas That Don’t Require a Kiln
Introduction
Have you ever wanted to make a cute teapot, but don’t know how and you don’t have a kiln? So many people feel the same way, and there is such a need for people to have an entrance way into pottery that is more accessible. Air dry projects are the perfect solution. Especially easy clay teapot ideas without a kiln. This gives anyone—whether they’re a curious beginner, a parent trying to entertain their children, or even an experienced artisan wanting to try something new—an opportunity to give it a shot.
Air-dry clay requires no costly tools or lengthy training to be put to use. The material is a straightforward and inexpensive medium for molding quirky, decorative, or even functional—if well-sealed—teapots. This allows you to play with all sorts of shapes, textures, and finishes from your own kitchen table.
Why make a clay teapot without a kiln?
Kilns are costly, they take up a lot of space, and they require some practice and a learning curve to run them safely. Air-dry clay lets your table-top pottery concept invite itself into your kitchen, rather than the other way round. It’s a great choice for a school project, a personalized gift, or just as a relaxing hobby that’s enjoyable to do for fun and simplicity.
Benefits:
Throughout this post, you’ll find detailed guidance, practical tips, and plenty of inspiring ideas to get you started on your own air-dry clay teapot project. Let’s roll up those sleeves and discover just how rewarding and accessible clay crafting can be—no kiln required.
What You Need to Get Started
Creating air-dry clay teapots without a kiln is surprisingly simple, but having the right supplies and information at your fingertips makes all the difference. Let’s break down everything you’ll need to begin your air-dry project and set yourself up for smooth crafting.
Choosing Air-Dry Clay for Teapots
Selecting the right clay is the bedrock for successful air-dry projects. Not all clays are created equal, especially when you’re aiming to craft a piece as intricate as a teapot.
Pro Tip: For most teapot projects, natural air-dry clay offers the best balance between strength, sculptability, and finish.
Pros and Cons of Air-Dry Clay for Teapots:
Pros:
Cons:
“The beauty of air-dry clay is accessibility. You don’t need specialized equipment—just creativity and patience.” — Emily, Home Crafting Enthusiast
| Clay Type | Strength | Finish Quality | Ease of Use | Water Resistance | Best For |
|---|---|---|---|---|---|
| Natural | High | Smooth | Moderate | Low | Sturdy, classic teapots |
| Paper-Based | Medium | Matte | Easy | Low | Lightweight, decorative pieces |
| Polymer (Air-Dry) | Low | Fine detail | Easy | Very low | Miniatures, fine details |
Data Source: Evaluation based on The American Ceramic Society’s “Types of Clay for Pottery” (https://ceramics.org/ceramic-type) and technical documentation from The Pottery Studio, “Types of Clay” (https://www.potterystudio.com/types-of-clay.html).
Tools & Basic Supplies
You won’t need a full pottery studio to make a beautiful teapot. Most tools are items you might already have at home or can pick up inexpensively.
Essential Tools Checklist:
Additional Supplies (Optional):
Quick Setup Tip: Lay down parchment paper or a silicone mat on your work surface. This keeps your clay clean and prevents sticking.
Armed with the appropriate clay materials and a few essential clay tools, you’re ready to tackle the interesting creative challenge of designing and sculpting your own teapot.
Planning & Designing Your Teapot
Now is the most exciting part. You can think about and plan your own design for a teapot. Even though you are making an air dry project, you can still make various shapes and designs independently or using some references.
| Step | Method | Key Tips |
|---|---|---|
| Teapot Body | Pinch or Slab | Smooth seams, even thickness |
| Spout | Roll & Attach | Make a pouring hole, secure well |
| Handle | Roll & Curve | Keep it sturdy, attach firmly |
| Lid | Disk & Knob | Add a collar for stability |
Data Source: Evaluation based on The American Ceramic Society’s “Teapot Construction Techniques” (https://ceramics.org/education/resources-for-educators) and technical guides from The Pottery Studio, “How to Make a Teapot” (https://www.potterystudio.com/how-to-make/teapot.html).
Simple Teapot Shape Design Ideas for Beginners
Stick to a simple design when making your first teapot. A classic design is not only easier to make, but I would also advise you to learn the basic form first. This will hone your teapot-making skills before starting on your more complex designs.
Classic teapot design ideas for beginners:
For the adventurous soul, consider a whimsical animal figurine teapot, or do playful surface designs with stamps and found objects to add texture. The only limit is your imagination.
Pro Tip: “Keep your spout short, and your handle thick for more stability. Air-dry clay is less forgiving than kiln-fired clay if you go thin.”—Lisa, Pottery Instructor
Tips for Sketching and Prepping Your Project
To create a teapot using a relatively delicate medium like air-dry clay, it’s best to spend a few extra minutes sketching out your idea, before diving into the clay. A quick pencil drawing of your whole design makes it easier to visualize the proportions and where you’ll need to attach the spout, handle, and lid, as well as any decorative parts.
Project Checklist:
Case Study: Sophie prepared before making her first air-dry clay teapot by sketching a very basic rounded teapot body with a stubby little spout, and a fun, wavy oversized handle. She noted where each piece would go, and referred back to the drawing as she sculpted. With this extra bit of prep work, assembly was much easier and she avoided awkward proportions.
Be Prepared: Since you’ll want to work somewhat quickly with air-dry clay, have all your tools and supplies ready before you begin. Keep a small bowl of water handy, and a damp cloth to use if the clay gets too dry while you’re working it. Wrap any unused clay with plastic wrap. A smooth, clean work surface, like parchment paper or another non-stick surface such as a silicone mat will work nicely.
Having a plan and organized area to work will ensure that your clay crafting experience is frustration free and easy. Your design is sketched and it’s time to make your very own air dry clay teapot!
Step-by-Step: How to Make an Air-Dry Clay Teapot Without a Kiln
With your design in hand and supplies ready, it’s time to bring your air-dry clay teapot to life. This process is highly rewarding, and you don’t have to be an expert to get beautiful results. Just follow each step, take your time, and enjoy the creative journey.
Prepping the Clay and Workspace
Start by setting up a clean, flat workspace. Cover it with parchment paper or a silicone mat for easy cleanup and to keep your clay clean. Make sure all your tools are within reach.
Open your air-dry clay and knead it for a few minutes—this softens the clay and removes air bubbles, making it easier to shape.
Quick Checklist Before You Start:
Shaping the Teapot
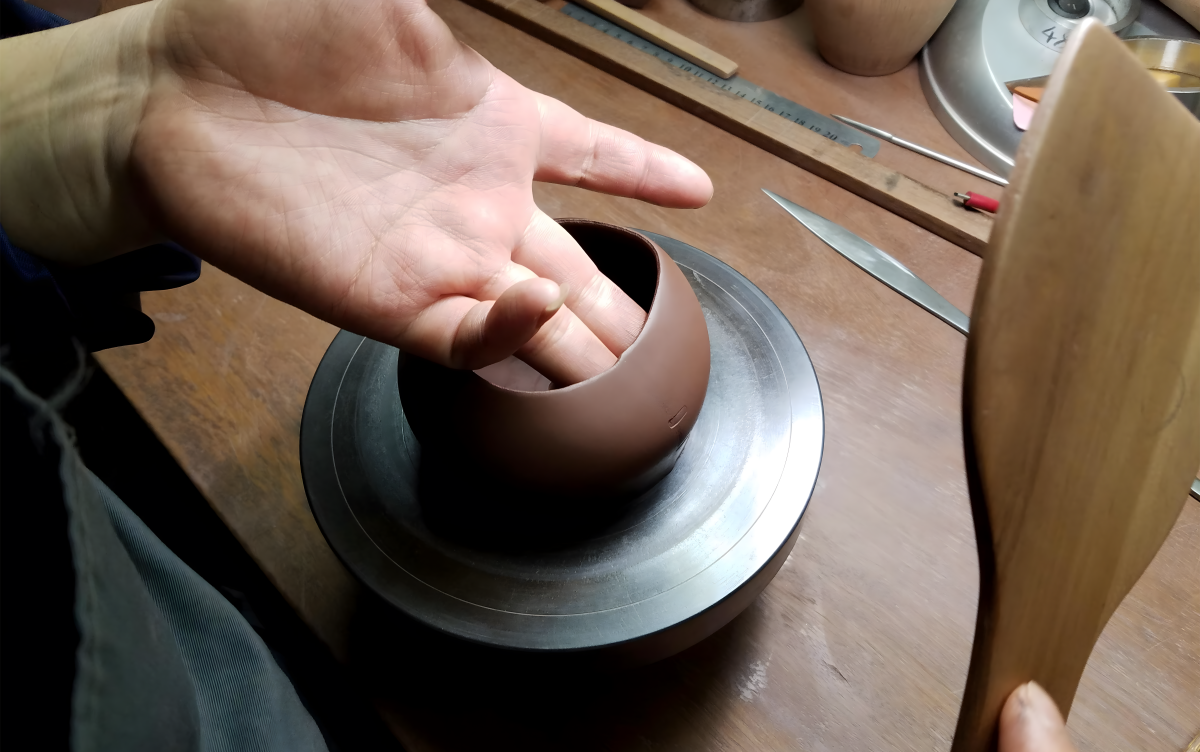
Creating the Teapot Body: For beginners, the pinch pot method is easiest. Roll a ball of clay about the size of a large apple. Press your thumb into the center, then gently pinch outward, turning the clay as you go, to form a hollow, even-walled bowl.
For a larger teapot, make two pinch pots and join them together at the rim, smoothing the seam with a bit of water.
Alternatively, try the slab method: Roll out a slab of clay about 1/4-inch thick. Cut out a rectangle for the body and a circle for the base. Gently wrap the rectangle into a cylinder and join the ends, then attach the base, smoothing all seams.
Forming the Spout: Roll a cylinder of clay and gently taper one end. Use a skewer or toothpick to create a hole through the spout for pouring.
Score (scratch) the area where the spout will attach to the pot, add a little water or slip (a paste made of clay and water), and press the spout onto the body. Smooth the joint with your fingers or a damp brush.
Making the Handle: Roll out another cylinder, slightly thicker than the spout. Shape it into a gentle curve or a loop, making sure it feels comfortable to hold.
Attach the handle by scoring and adding slip to both the handle and the teapot body. Press gently into place and smooth the joints.
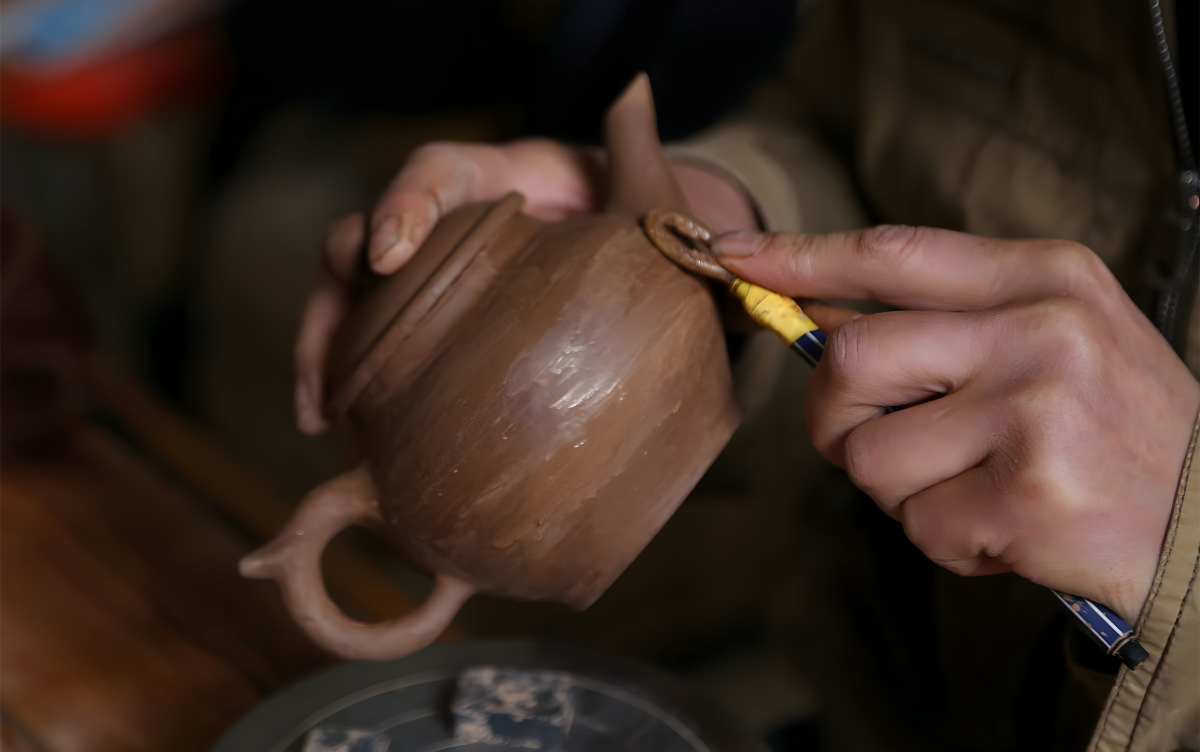
Crafting the Lid: Press out a flat disk of clay that fits the teapot opening. Add a small knob or decorative element by attaching a pea-sized clay ball on top.
If you want the lid to sit securely, create a small ring or “collar” underneath that fits snugly inside the teapot’s mouth.
Assembling and Smoothing
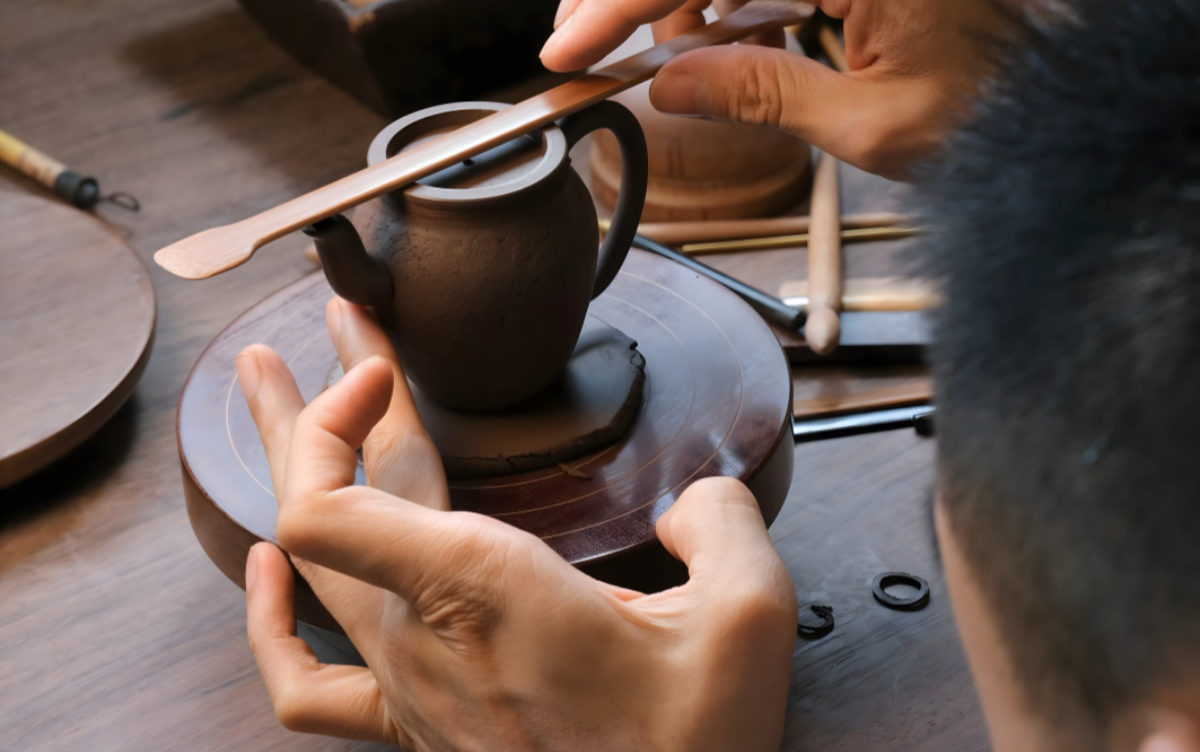
Once all the main parts are shaped, assemble them while the clay is still moist. Use a toothpick or skewer to reinforce joins if needed—especially for larger pieces or heavy handles.
Smooth all seams using a damp sponge or your fingers. Take your time here: the smoother your surface now, the less sanding you’ll need later.
Pro Tips for Success:
With your teapot assembled and seams smoothed, you’re ready for the next crucial stage—drying and finishing, which will ensure your air-dry project looks polished and stands the test of time.
Drying, Decorating, and Finishing Touches
You’ve shaped and assembled your teapot—now patience pays off. The drying and finishing steps are crucial to ensure your air-dry clay teapot stands the test of time and looks fantastic. Here’s how to bring out the best in your air-dry project without a kiln.
Drying Your Clay Teapot
The key to keeping your teapot free from cracks and structurally sound lies in drying it properly. With air-dry clay, the hardening process begins once the water from the clay evaporates, but rushing the job will only lead to disaster.
Here’s how to ensure your teapot comes out the other side in perfect condition:
Tips for Drying:
Troubleshooting:
“Patience in drying leads to perfection in finishing.”
Painting and Sealing
Once your teapot feels bone dry—cool to the touch and no longer soft—it’s time to give it personality and protection.
Sanding for Smoothness:
Use fine-grit sandpaper (220 grit or higher) to gently smooth any rough spots, seams, or excess clay. Wear a dust mask and work outside if possible, as dried clay dust isn’t healthy to breathe.
Painting Tips:
Sealing for Durability:
Once the paint dries, seal the entire teapot with a clear acrylic sealer or Mod Podge. This step protects your artwork, adds a subtle sheen, and makes the surface easier to dust or wipe clean.
Important: While sealing adds some water resistance, air-dry clay teapots are not food- or dishwasher-safe. Use them for décor, planters, or to display dried flowers and treats.
Case Study: After drying, Mia painted her air-dry clay teapot with a whimsical floral pattern, then sealed it with two coats of matte acrylic spray. The result? A cheerful centerpiece that brightened her kitchen shelf and received plenty of compliments from guests.
Quick Decorating Ideas:
With careful drying and creative finishing, your teapot will be a testament to your skill and style—no kiln required!
| Purpose | Material | Notes |
|---|---|---|
| Painting | Acrylic paints | Bright, durable finish |
| Fine details | Permanent markers | Add after painting |
| Sealing | Clear acrylic sealer | Gloss or matte available |
| Extra shine | Mod Podge | Multiple coats possible |
Data Source: Evaluation based on The American Ceramic Society’s “Finishing and Decorating Ceramics” (https://ceramics.org/education/resources-for-educators) and technical guides from The Pottery Studio, “Paints, Markers, and Sealers for Ceramics” (https://www.potterystudio.com/finishing.html).
Creative Air-Dry Clay Teapot Ideas
Once you’ve mastered the basics, it’s time to let your imagination run wild with creative air-dry clay teapot ideas without a kiln. There’s no right or wrong way to personalize your project—just follow your instincts and have fun.
Fun and Easy Project Examples
Here are a few inspiring concepts to spark your creativity:
Decorative vs. Functional Uses
It’s important to remember that while air-dry clay is versatile, it’s not fully waterproof or food-safe. Still, your teapot can serve many delightful roles:
Quote: “The best projects tell a story—let your teapot reflect your personality or a favorite memory.” — Craft Blogger, The Clay Table
No matter which idea you choose, remember that air-dry clay teapots are for creative expression first and foremost. Some crafters even display a whole collection, each one representing a different season or special occasion. Your teapot, your rules!
Troubleshooting & FAQ
Even the most careful crafters run into hiccups. Don’t worry—most issues with air-dry clay teapot projects are easy to fix with a little patience and know-how. Here’s how to tackle the most common challenges and get answers to your burning questions about creating easy clay teapot ideas without a kiln.
Preventing and Fixing Common Issues
Cracking:
Why it happens: Usually due to quick drying, uneven thickness, or insufficient blending at seams.
How to fix: If a crack forms while drying, dampen the area, smooth it together, and add a thin layer of fresh clay. For deeper cracks, reinforce from the inside if possible.
Loose Handles or Spouts:
Prevention: Always score and slip both surfaces before attaching. Press firmly but gently, and allow the joint to dry slowly for maximum strength.
Fix: If a piece falls off after drying, use strong white craft glue to reattach, then touch up with paint or a bit of clay “spackle” if necessary.
Warping or Collapsing:
Why it happens: Walls may be too thin or the piece was moved before drying enough.
Solution: Build up thin areas with extra clay. Support the form with crumpled paper inside until dry, then carefully remove.
Paint Flaking:
Prevention: Make sure the surface is fully dry and dust-free before painting. Use acrylic paints and seal after painting.
Fix: Sand loose paint off, repaint, and immediately reseal.
Pro Tip: Always let your teapot dry slowly and thoroughly before decorating or handling too much
Conclusion
Making an air-dry clay teapot without a kiln is a fulfilling journey – one that brings together creativity, practicality, and the sheer joy of crafting with your hands. This guide has walked you through the process, from selecting the right clay and tools to shaping, drying, decorating, and troubleshooting, while highlighting easy and creative clay teapot ideas.
Why air-dry projects?
You don’t need fancy equipment or expert skills. All it takes is a little patience and a big imagination. Whether you’re making a gift for a loved one, a centerpiece for a tea party or a fun family art project, your DIY teapot will be unique, meaningful and full of personal charm.
So, collect your materials, sketch a design and have fun. The possibilities for air-dry clay teapot projects are endless. No kiln required!

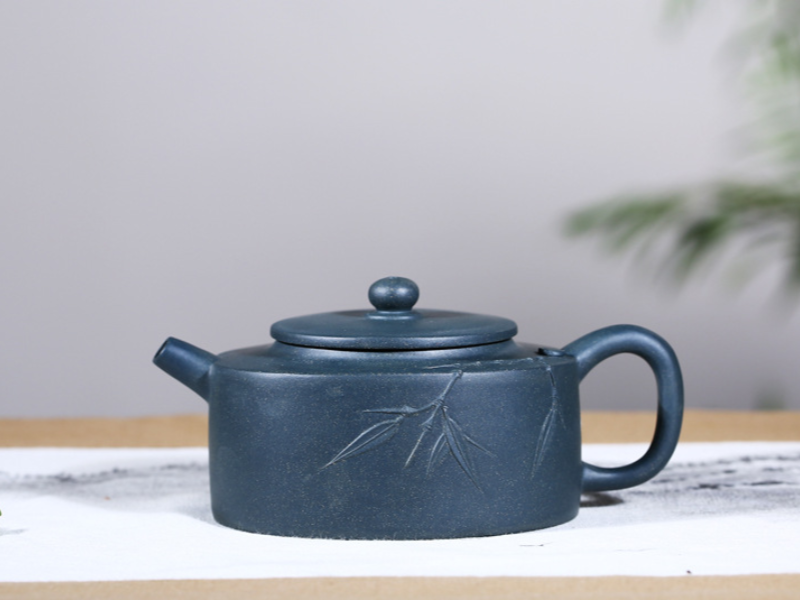

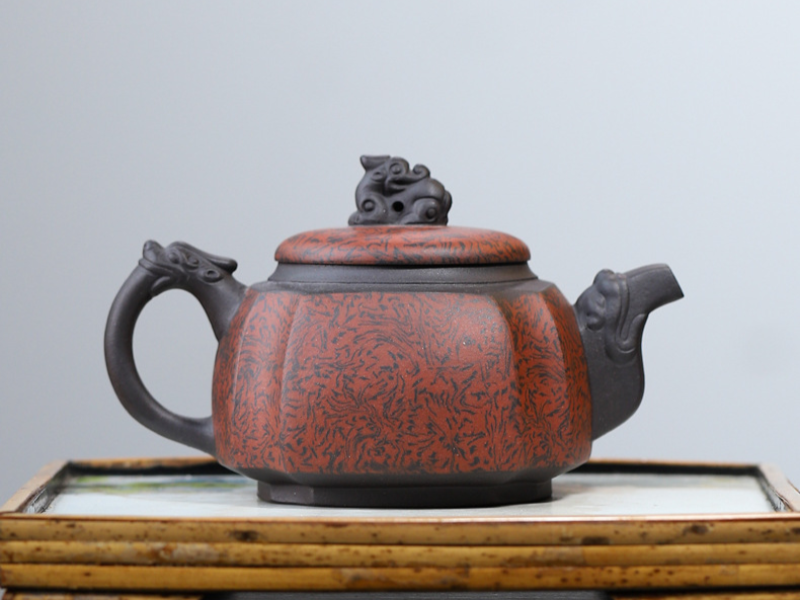

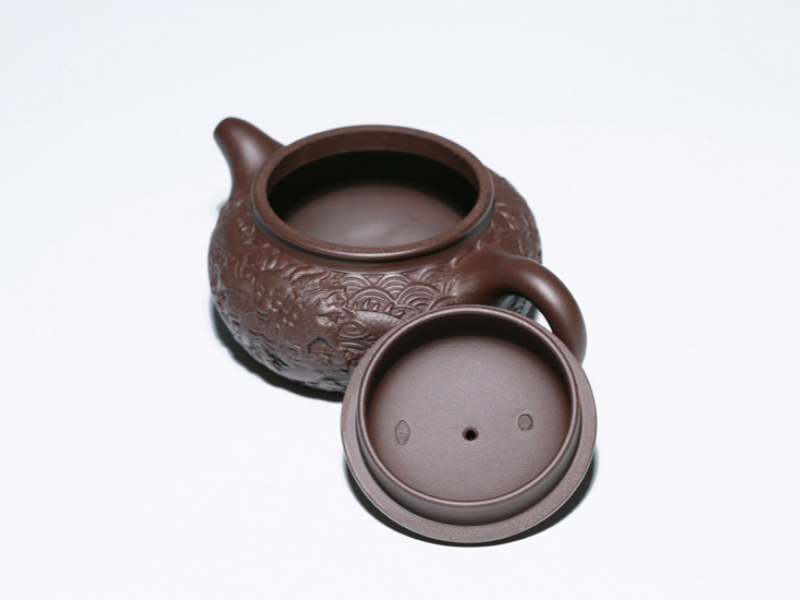


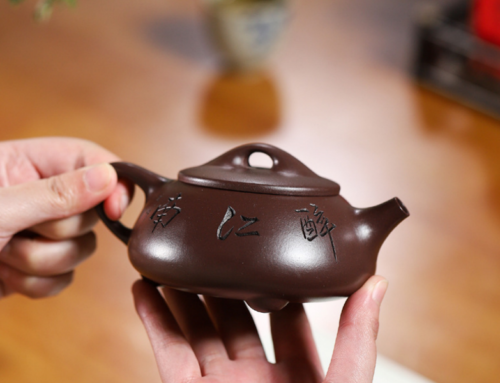


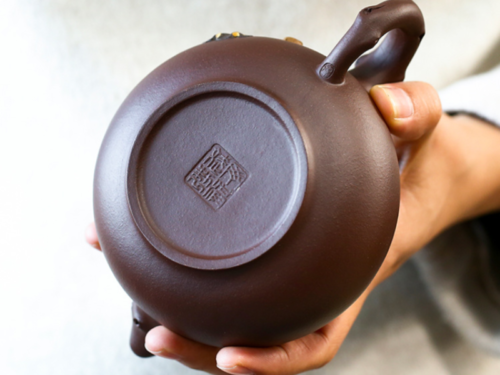 chinese teapot and cups with handcrafted details
 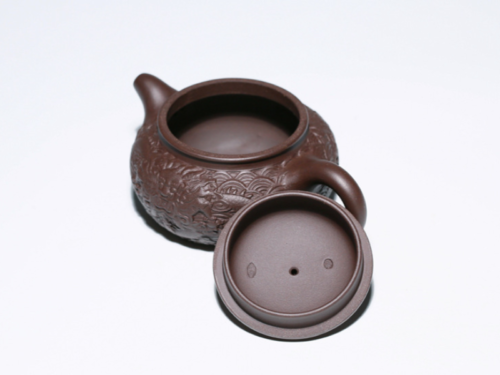 chinese teapot and cups for luxury tea experiences
 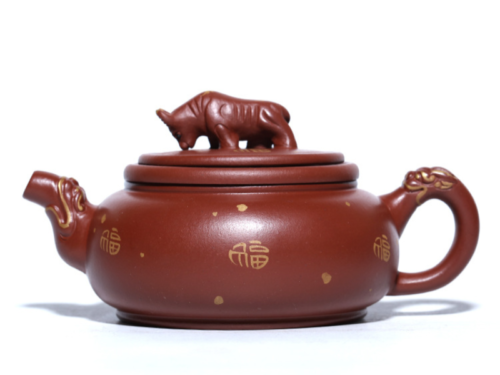 chinese teapot and cups with eco-friendly materials