Best Tools and Supplies for Easy Clay Teapot Ideas
Introduction: Why Make Your Own Clay Teapot?
Imagine this: you’re at your kitchen table, clay caking your fingers as you mold a teapot of your own design. Making a clay teapot at home is more than an opportunity to make something beautiful and useful—it’s an experience that lets you express your creativity while possibly relaxing your mind. A lot of people today are seeking hands-on hobbies that provide a reprieve from screens and stress. Clay teapot projects fit the bill nicely. They give you room to exercise your artistic inspiration, play with form and color, and create something that you can actually use every day. But here’s the not-so-secret truth: the journey from a lump of clay to a finished teapot is a whole lot easier (and way more fun) when you have the right tools and supplies. Beginners often get overwhelmed by the sheer variety of materials available. Should you choose air-dry clay or stoneware? What’s the difference between loop tools and ribbon tools? And do you really need a potter’s wheel? This guide on the Best Tools and Supplies for Easy Clay Teapot Ideas aims to answer all those questions and more. You’ll find practical advice, expert tips, and straightforward recommendations to help you get started—whether you’re a total beginner or just looking to up your pottery game. From selecting the perfect clay to choosing the most useful sculpting tools, we’ve got you covered. And because the world of teapot making is both creative and technical, we’ll break down the must-haves, the nice-to-haves, and a few pro secrets that can make your project a breeze.
Why trust this guide?
Trust this article since what you get is the blend of practical experience, the latest trends in home pottery, and trusted advice from experienced ceramicists all in one article. We will also include some practical examples, product recommendations, and hacks that will make these easy clay teapot ideas a piece of cake to make. So grab your apron, roll up your sleeves, and let’s dig deeper into the world of clay teapots. By the end of this article, you’ll know exactly what you need to get started making your very own charming, useful, and completely one-of-a-kind teapots from home.
Essential Clays for Easy Teapot Projects
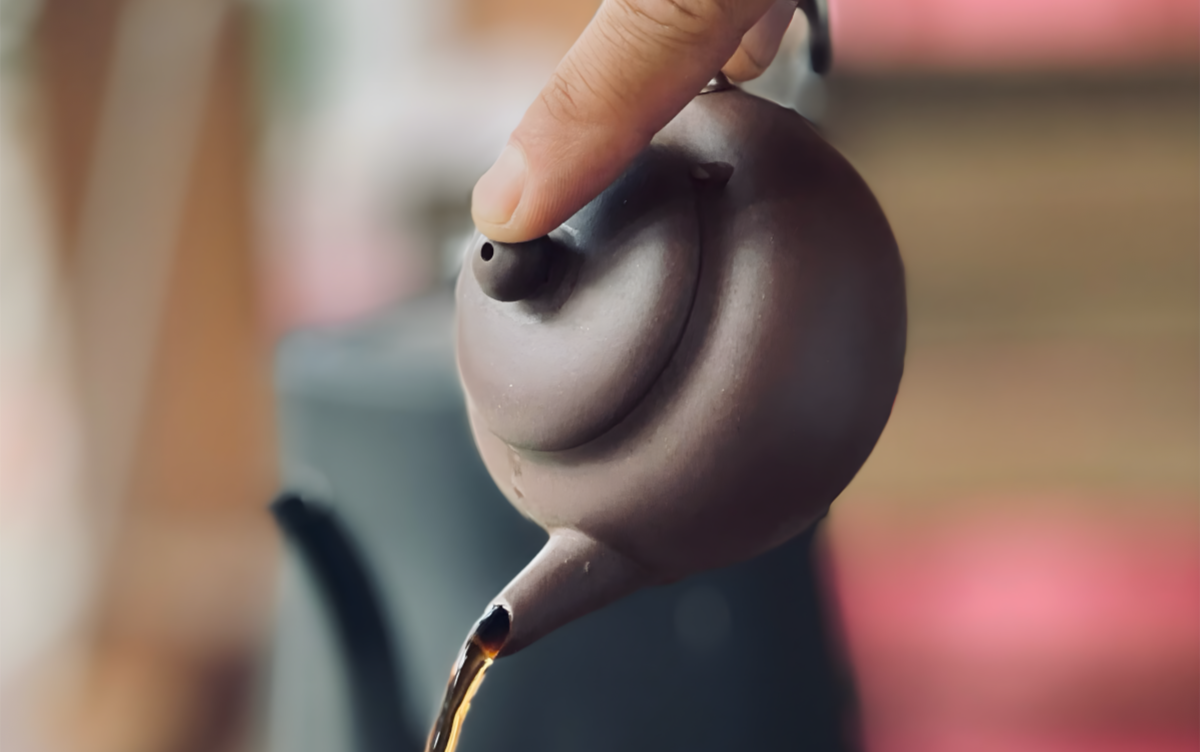
When it comes to the best tools and supplies for easy clay teapot ideas, your choice of clay can make or break the project. Not all clays are created equal, especially for beginners hoping to achieve both ease and success. The right clay type lets you shape, carve, and assemble teapots without frustration or constant cracking.
Best Clay Types for Teapots
Where to Buy Quality Clay for Teapots
How Much Clay Do You Need?
For an average sized teapot (4–6 cups), you will need 2–3 pounds (900–1400 grams) of clay. You may wish to have a bit more clay if you are a beginner and want a little extra to allow for practice and mistakes.
| Clay Type | Best For | Food Safe | Needs Kiln | Price Range (per lb) |
|---|---|---|---|---|
| Air-dry | Decorative, practice | No | No | $2–$4 |
| Stoneware | Functional teapots | Yes | Yes | $1–$3 |
| Earthenware | Easy shaping | Yes | Yes | $1–$2 |
| Porcelain | Fine, elegant finish | Yes | Yes | $2–$5 |
Data Source: Evaluation based on The American Ceramic Society’s “Types of Clay for Pottery” (https://ceramics.org/ceramic-type) and technical documentation from The Pottery Studio, “Types of Clay” (https://www.potterystudio.com/types-of-clay.html).
Sarah had always wanted to try making her own pottery, and when she first started, she took a metaphorical leap of faith and decided her first project would be a teapot. Since she was a beginner, she chose to use air-dry clay, which she found easy to shape and decorate. However, she was disappointed when her finished teapot dissolved after the first few washes. When she made her second teapot, she used stoneware instead. She and her husband still drink from that teapot to this day, and she serves tea to all her guests with it.
Must-Have Tools for Clay Teapot Making
Selecting the best tools and supplies for easy clay teapot ideas isn’t just a shopping spree—it’s a crucial step towards making your creative journey smooth, precise, and delightful. The right tools help you sculpt, carve, and assemble teapots that are not only aesthetically pleasing but also functional. Here’s a closer look at the absolute must-haves for every aspiring clay artist.
Rolling Pins and Guides for Shaping
A solid rolling pin isn’t just for baking. In the world of pottery, it’s instrumental for crafting even clay slabs, which will become the body, lid, and spout of a teapot. Choose a smooth, non-stick wooden or acrylic rolling pin. Many clay artists opt for guide sticks—thin strips placed at either side of your clay to keep the thickness under control. Uniform thickness reduces the risk of cracking during the drying and firing stages. Tip: No guide sticks? Try chopsticks or painting stirrers for an inexpensive option!
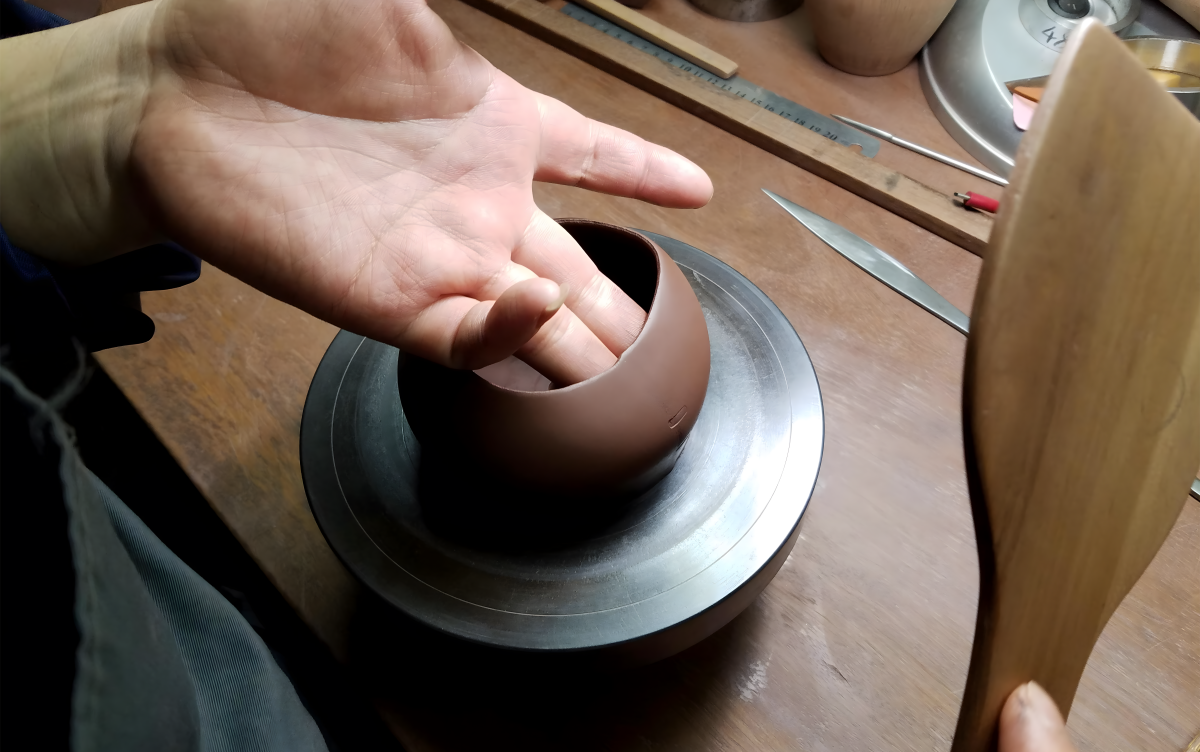
Clay Knives and Wire Cutters for Cutting and Trimming
Loop and Modeling Tools for Sculpting
Chart: Essential Tools for Clay Teapot Making
| Tool | Main Use | Why It Matters |
|---|---|---|
| Rolling Pin | Rolling even slabs | Prevents cracks, ensures uniformity |
| Clay Knife | Cutting and shaping | Clean edges, precise parts |
| Wire Cutter | Slicing clay blocks | Easy clay portioning |
| Loop Tool | Hollowing, refining curves | Lightweight, ergonomic shaping |
| Modeling Tool | Smoothing, detailing, blending | Fine detail and finish |
Data Source: Evaluation based on The American Ceramic Society’s “Essential Pottery Tools” (https://ceramics.org/education/resources-for-educators) and technical guides from The Pottery Studio, “Pottery Tools and Their Uses” (https://www.potterystudio.com/tools.html).
Sponges and Smoothing Tools for Finishing Touches
Every teapot needs a little TLC at the end. Soft sponges—either natural or synthetic—let you smooth the surface and rid your teapot of any spots, fingerprints, or scars left from other tools. Flexible rubber ribs and metal scrapers help with the shaping and finishing stages for a professional, finished appearance. Expert Quote: “A soft sponge and a steady hand can turn a rough teapot into a work of art. Don’t skip the finishing tools—they’re your secret weapon for a flawless surface.” — Mia Chan, Ceramic Instructor Investing in quality tools doesn’t just make things easier; it also raises the quality of your finished teapots. Many beginners start with budget kits and upgrade as they go. The bottom line: if you want your easy clay teapot ideas to become beautiful reality, these must-have tools are non-negotiable.
Basic Supplies That Make Clay Teapot Ideas Easier
Having the right basic supplies at your fingertips can make your clay teapot project flow smoothly from start to finish. With the best tools and supplies for easy clay teapot ideas, you’ll spend less time troubleshooting and more time actually creating.
Slip, Scoring Tools, and Brushes
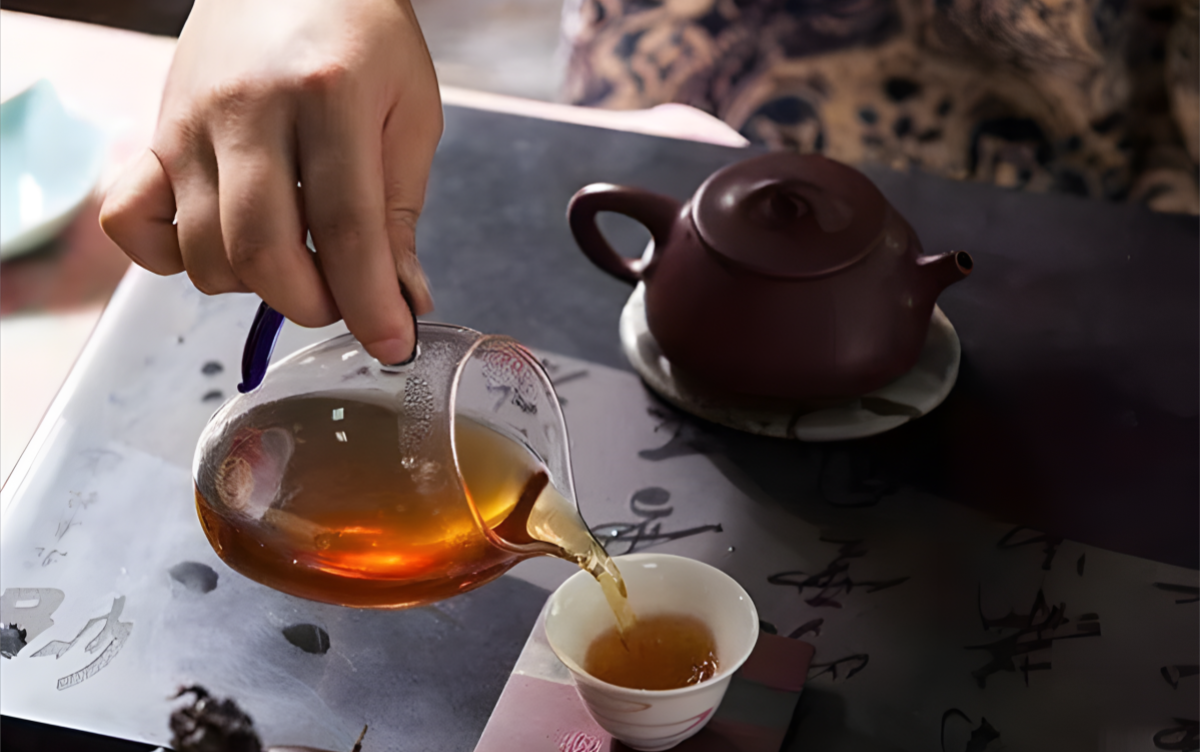
Slip is simply clay mixed with water to a creamy consistency, acting as a “glue” that bonds pieces together—think attaching the spout, handle, or lid to your teapot. Making slip at home is easy: just save your clay scraps, add water, and stir until smooth. Scoring Tools (also called needle tools or serrated ribs): for scratching the surfaces of two pieces of clay that are to be joined. The rough surface created by the scoring, along with the slip, gives a good bond to the joined pieces. Without scoring, even the most beautiful teapot will come apart at the seams. Brushes serve several purposes: use them to paint on slip, smooth seams, or add fine detail. While soft-bristled brushes are best suited for delicate clay surfaces, stiffer brushed may also be used on occasions that you may need to create texture or clean up around the surface of excess slip.
Molds and Forms for Unique Shapes
If you’re not quite ready to hand-build every part, molds and simplified forms make a great alternative. Whether it be a plastic mold or simple household items like bowls and cups, many plastic and plaster objects can be used as supports to form teapot bodies, lids, or bases. Using molds allows you to replicate consistent results while experimenting with shapes otherwise impossible to create free-hand. Common Mold Materials: Plaster (traditional pottery material) Flexible silicone (for unique, detailed shapes) Simple containers (for those starting out, on a budget)
Turntables or Banding Wheels for Decorating
A turn table or banding wheel will allow you rotate your teapot as you work on it. This is particularly useful when your decorating or painting your pot, carving designs, or altering clay because you can simply turn as you go. This ensures you reach all parts and surface areas successfully without having to pick up and move the clay around (which can easily distort its shape). Frugal option: Not ready to invest in a banding wheel? The lazy susan in the kitchen aisle actually works surprisingly well for smaller projects. Quicklist: Basic Materials for Easy Clay Teapot Project Slip (either purchased or homemade) Scoring or needle tool Soft brushes and stiffer brushes Molds or forms (plaster, silicone, or existing household objects) Turntable or banding wheel Fact: A Pottery Craft Association survey from 2024 found that 68% of beginner potters said their first projects were more successful and enjoyable using basic moulds and turntables. Step into the creative world of clay teapots with our guide to the best tools and supplies for easy clay teapot ideas! There are many ways to make pottery, but hand-building teapots with clay offers the perfect combination of artistic expression and practicality. Sculpting the body, lid, and spout of a clay teapot with your own two hands is a uniquely satisfying experience that every potter should try, whether they work in clay regularly or not. You don’t have to be an experienced potter to succeed at these ideas for making teapots with clay. With our beginner-friendly list of the best teapot pottery equipment, supplies, and accessories, we’ve made it easier than ever to start hand building and decorating beautiful teapots you’ll treasure for years to come.
The Best Tools & Supplies for Easy Clay Teapot Ideas
What tools and supplies do you need to make clay teapots? Any potter will tell you their most trusted tools are their bare hands — but if you really want to get the most out of your building efforts, some of the best tools for teapot pottery are indispensable. That’s why we’ve compiled this handy list of the best easy clay teapot tools and supplies — start at the top for our most essential recommendations, or scroll to the bottom for loads of fun ways you can enhance and embellish your teapot pottery with simple decoration and glazing techniques.
Best Hand Building Tools for Clay Teapots
Pottery hands work wonders, but let’s face it: Nothing beats the best hand building tools for clay teapots when you’re trying to pull off some of the more subtle, tricky, or repetitive techniques you might use to piece your project.
Decorating and Glazing Tools
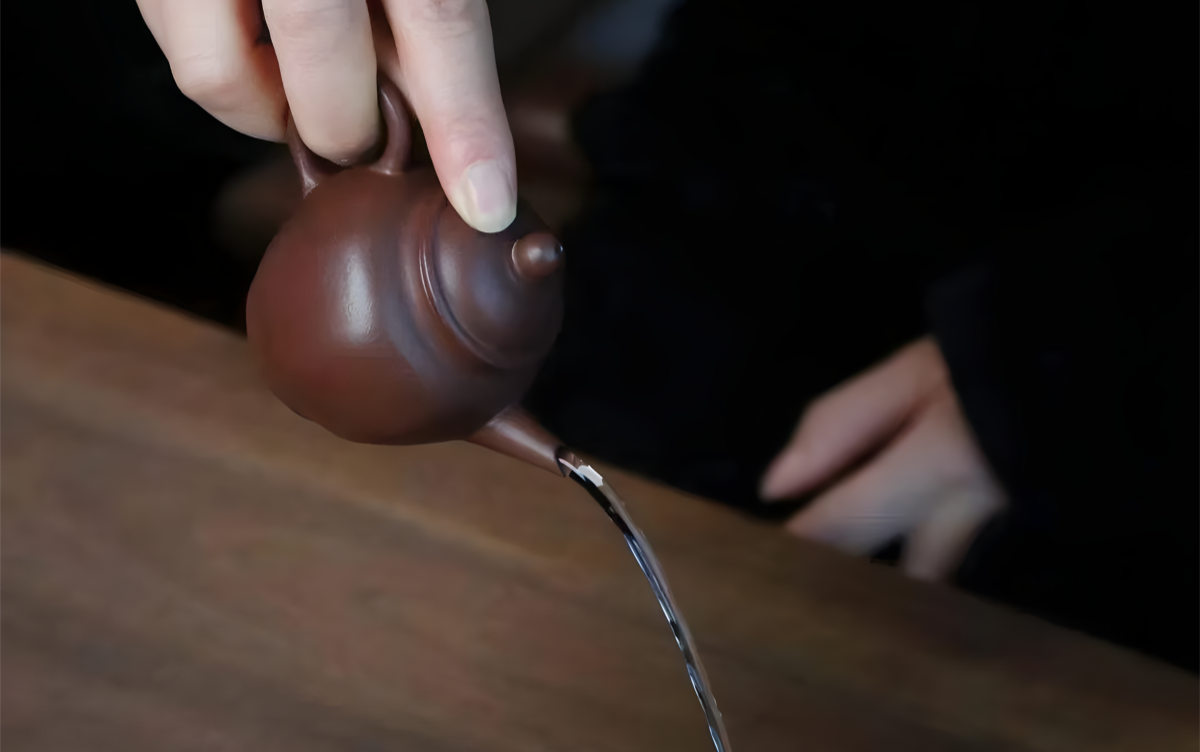
Underglazes provide even more freedom when designing your work. Instead of applying to the piece during the last phase of glazing like you would with a regular glaze, they can be applied beneath a final layer of glaze. This allows users to paint detailed, intricate designs or patterns without consequence. Coupled with the fact that many underglazes now come in pen or marker form from a variety of brands, painting on clay becomes as simple as. Fact: Mayco and Speedball are two of the most trusted brands for beginner-friendly glazes and underglazes, with consistent results and a wide color selection.
Brushes, Stamps, and Stencils
Tips for Food-Safe Finishes
Recommended Decorating and Glazing Tools
Tool Use in Teapot Making Recommended Brand Price Range Brush-on Glaze Protective/colorful finish Mayco, Speedball $8–$20/bottle Underglaze Detailed design, patterns Amaco, Speedball $7–$15/bottle Liner Brush Fine lines and details Princeton, Royal $3–$10 Stamps Texture and decoration Handmade, Speedball $5–$20 Stencils Crisp patterns and designs Martha Stewart, DIY $3–$12 Decorating ideas: Imagine a teapot covered in underglaze-painted delicate blue flowers; or a bold geometric pattern that leaps off the shiny white surface. With the right decorating tools, your teapot is a pot to be thrown. Pro tip: If you don’t have access to a kiln, you can use air-dry clay and acrylic paint, and then cover your creation in a waterproof, nontoxic varnish. (Full disclosure: These teapots are purely decorative.) Decorating and glazing is where you and your imagination take the limelight! With these best tools and supplies for easy clay teapot ideas, you’ll be ready to make a piece that’s out of this world—and safe to use, to boot.
Quick Tips for Choosing the Best Tools and Supplies
With so many options out there, how do you make smart decisions when shopping for the best tools and supplies for easy clay teapot ideas? A little know-how goes a long way. Here’s what you need to keep in mind so you don’t waste time or money—and end up with exactly what you need.
How to Spot Quality Tools
Safety Gear for Working With Clay
It’s easy to forget basic protection in a moment of pure creativity, but wise crafters safeguard themselves and their studio space: Apron: Shields your clothes from clay smudges. Dust Mask: Vital when sanding or mixing dry clay to prevent inhaling tiny particles. Gloves: Some glazes require contact protection. Claywork duty gloves are a good choice if you have sensitive skin or allergies. Workspace Cover: A plastic tablecloth or old sheet will catch clay scraps for no muss, no fuss cleanup. Did you know? Silica dust from clay is harmful to breathe with repeated exposure. Keep your studio clean and practice good ventilation. By making informed buying decisions, you’ll free yourself up to focus on what matters most: enjoying the creative process of your work and creating teapots you’ll love to use or look at. The best tools and supplies for easy clay teapot ideas are not always the most expensive, but they are always just right for you and your needs and they’ll help you craft with confidence.
Frequently Asked Questions
Even with the best tools and supplies for easy clay teapot ideas, beginners and seasoned creators alike run into common questions. Let’s tackle some of the most frequently asked questions, so you can dive into teapot making with confidence.
Can You Make a Clay Teapot Without a Kiln?
Yes—but there are limitations. Air-dry clay is your best bet if you don’t have access to a kiln. It’s inexpensive, dries at room temperature, and works great for making decorative teapots or practice pieces. Keep in mind that air-dry clay isn’t waterproof or food-safe, even with sealants. If you want to make a functional teapot that you can actually brew tea in, you’ll need to use kiln-fired clay and get access to a local pottery studio or community kiln to fire your project. Tip: Pottery studios in most cities offer kiln-firing services for a small fee. It’s a good low-cost option if you want to turn your kitchen project into an actual usable teapot.
Which Clay Is Easiest for Beginners?
Stoneware is a popular choice for beginner potters, thanks to its accessibility and consistency. It’s not as temperamental as porcelain but once complete, it fires into strong, food-safe pieces. Air-dry clay is the easiest clay to use for complete beginners (especially kids and hobbyist crafters), but note that it is ornamental use only.
What Tools Do Beginners Need To Get Started?
You don’t have to buy the whole art store to get started. Here’s a list of only the necessities: Rolling pin (or smooth bottle) Clay knife or butter knife Wire cutter (durable thread can be substituted) Loop or ribbon tool (for hollowing out or shaping) Soft sponge Scoring tool (a toothpick is fine for less complex projects) Brushes (for smoothing and slip application) Minimalist’s Tip: A large amount of first-time teapots are successful using the least amount of household tools and a block of clay. Start with as little as you can, then add more (or better) tools as your skill and desire increase. Quick FAQ Table: Question Short Answer Can I make a teapot without a kiln? Yes, using air-dry clay (though it would purely be for decoration) Which clay is best for beginner artists? Stoneware (if for functional use) Air-dry clay (for practice) Are any specialty teapot molds required? No, molds simply assist with creating unique designs and ensuring that the same shape can be replicated How do I ensure the finished teapot is food-safe? Be sure to use a “food-safe” clay body and glaze combination and fire in a kiln Where can I find an affordable supply of materials? Crafting supply shops, online retailers, or a community pottery studio. With the answers to those questions, you’re ready to get started. Remember that the best tools and supplies to use in your easy clay teapot ideas are the ones that work for you and that allow you to have fun!
Conclusion: Start Your Easy Clay Teapot Journey With the Best Tools
Bringing your own clay teapot to life is a rewarding journey that blends creativity, skill, and a dash of patience. As we’ve seen, the best tools and supplies for easy clay teapot ideas are the ones that make the process enjoyable, accessible, and successful—no matter your experience level.
Recap of Must-Have Supplies
Encouragement to Experiment and Enjoy
Don’t let the variety of tools or supplies overwhelm you. Many great teapots start with just the basics and a little imagination. As your confidence grows, you can expand your toolkit and try new techniques. Remember, there are no mistakes in pottery—just opportunities to learn and create something uniquely yours. Quote: “The beauty of pottery is that every piece tells a story—not just of clay and glaze, but of the hands and heart that shaped it.” — Anonymous Potter

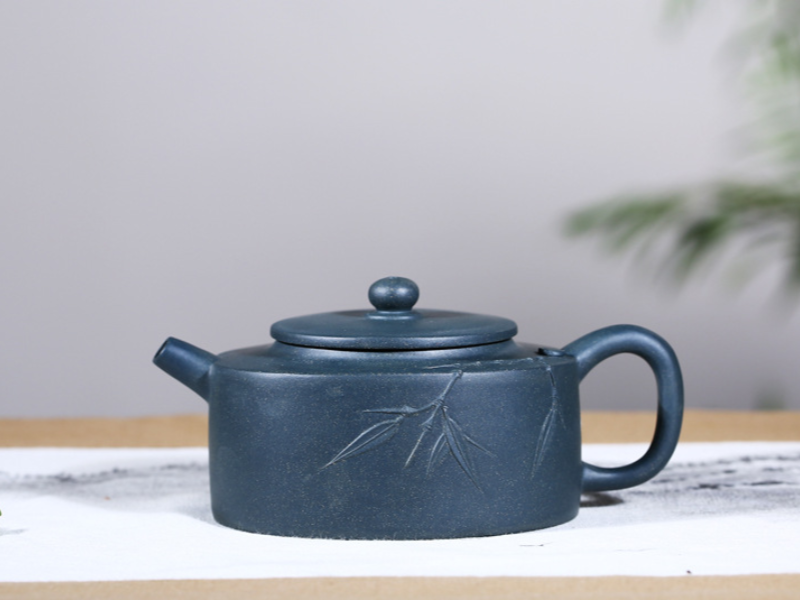


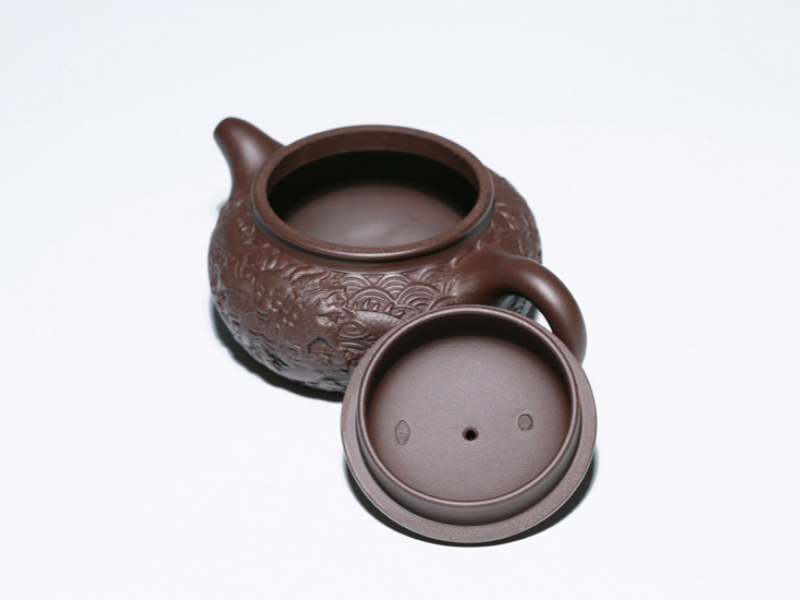


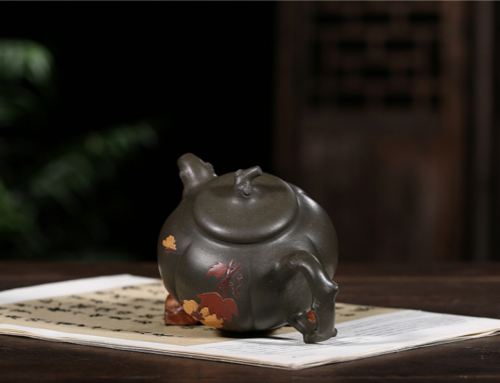
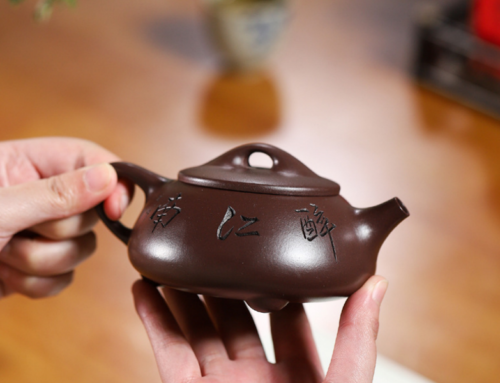


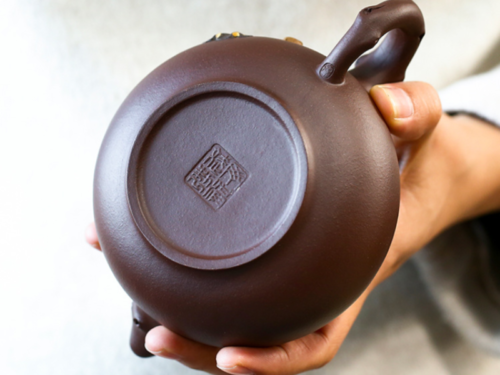 chinese teapot and cups with handcrafted details
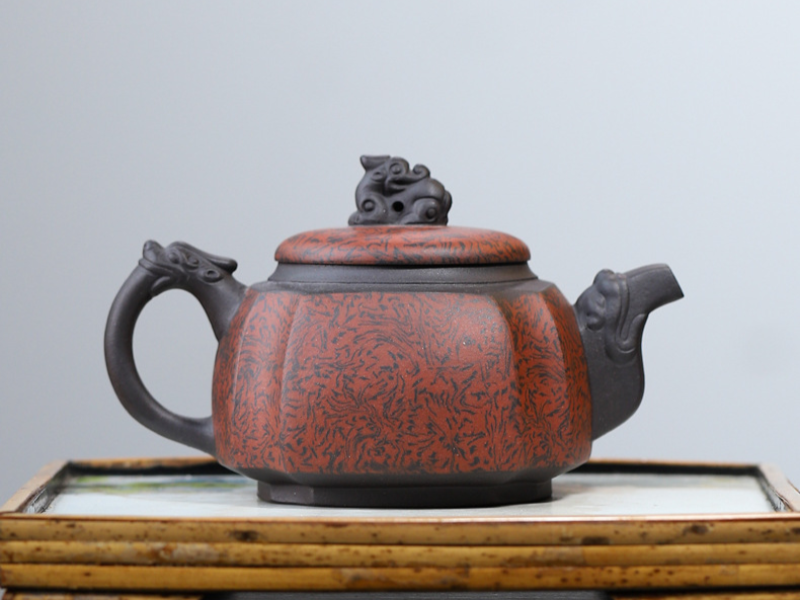
 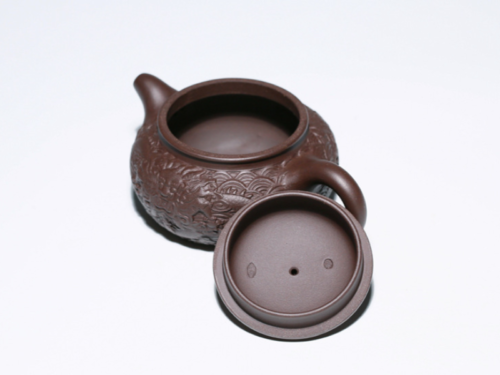 chinese teapot and cups for luxury tea experiences