Family & Kids Crafts: Simple Clay Teapot Ideas That Anyone Can Try
Introduction
Few things unite families more than getting creative together – working with clay is not just an art project; it’s a memory. Family and kids projects: easy clay teapot ideas for all ages are an opportunity for fun, learning, and bonding. Whether you are a parent looking for a weekend craft or a teacher looking for a group project children making clay teapots can delight and inspire everyone from preschoolers to grandparents.
Why teapots? The teapot—with its archetypical curves and friendly spout—is an iconic form that teases the imagination. Making one from start to finish is a small adventure in sculpting, design, even a little engineering. For small hands, it’s an exercise in pure sensory play—rolling, pinching, and extruding the soft forms. For older kids and grown ups, it’s an opportunity to experiment with more complicated forms, textures, and styles of decoration. Everyone gets to make a gesture that is their own.
And, even more deeply, there are great benefits in crafting with clay. Needlework, gardening, painting, and other hands-on interests help alleviate stress and encourage creativity, studies say. The American Art Therapy Association reports that clay projects, specifically, can foster fine motor skills, spatial awareness, and problem-solving abilities in children. In adults, clay projects encourage mindfulness and conjure feelings of accomplishment. “We laughed, we got messy and we made something we’re proud to show off,” one parent said after a family clay day. And let’s not discount the power of family traditions. When we create as a family, we create more than a teapot or an ornament. We create memories that will last a lifetime. Imagine being able to pass down to the next generation — and the generation after that — a handmade teapot.
In this guide, you’ll find the best easy clay teapot ideas for all ages, plus expert tips, troubleshooting advice, and creative inspiration to keep everyone engaged. Ready to get started? Let’s dive into a world where imagination takes shape, one teapot at a time.
Getting Started: Materials, Tools, and Safety
Before you dive hands-first into a world of clay, take a moment to gather your supplies and set up a safe, inviting workspace. The right preparation makes the process smoother and keeps everyone focused on the fun.
Essential Supplies for Easy Clay Teapot Projects
Did you know? According to the National Art Education Association, children who regularly engage in hands-on art projects develop stronger problem-solving skills and greater attention to detail.
Choosing the Right Clay for Kids and Families
Not all clay is created equal—each type has its strengths and quirks. For most family and kids projects, air-dry clay is a winner. It’s soft, easy to shape, and doesn’t require a kiln or oven. You simply leave it out and let time do the rest. Plus, it’s easy to find and relatively inexpensive.
Families that are interested in functional, long-lasting teapots will want to use a ceramic or stoneware clay. This type of clay must be fired in a kiln. It’s a better choice for older kids and adults, or people who have access to a community pottery studio. Polymer clay is colorful and bakeable in a regular oven, but it isn’t food-safe for making actual teapots. It is still a nice option for decorative miniatures.
Quick comparison table:
| Item | Why It’s Needed | Tips for Choosing |
|---|---|---|
| Clay | The foundation for your teapot | Air-dry for kids, ceramic for oven firing |
| Rolling pin | To flatten clay for slab teapots | A clean bottle works in a pinch |
| Sculpting tools | For shaping, cutting, and detailing | Look for plastic tools for kids |
| Water cup | Keeps clay moist and workable | Small bowls reduce spills |
| Paints/Glazes | For decorating finished teapots | Non-toxic acrylics for kids, ceramic glazes for oven-safe pieces |
Data Source: U.S. Consumer Product Safety Commission (CPSC) and U.S. Food & Drug Administration (FDA) guidelines on non-toxic art supplies and ceramic glazes for food safety (https://www.cpsc.gov/Safety-Education/Safety-Guides/arts-crafts/ and https://www.fda.gov/food/buy-store-serve-safe-food/ceramics-and-lead-poisoning).
Simple Setup and Safety Guidelines for All Ages
Safety first, fun always. First things first, choose a well-lit, ventilated area: kitchens, patios, and covered porches are lovely choices. Protect the workspace with a washable tablecloth or large craft mat. Have a damp sponge handy to wipe up splashes or errant bits of clay.
Case Study: In a recent community art class, one family found that setting up a “clay zone” with all supplies within reach helped keep their youngest child, age four, engaged and mess-free. “We put everything on a big baking sheet,” the mom said. “It kept the tools and clay bits contained, so clean-up was a breeze.”
When your space is ready and your supplies are out, gather everyone around. Now the stage is set for creativity to bloom!
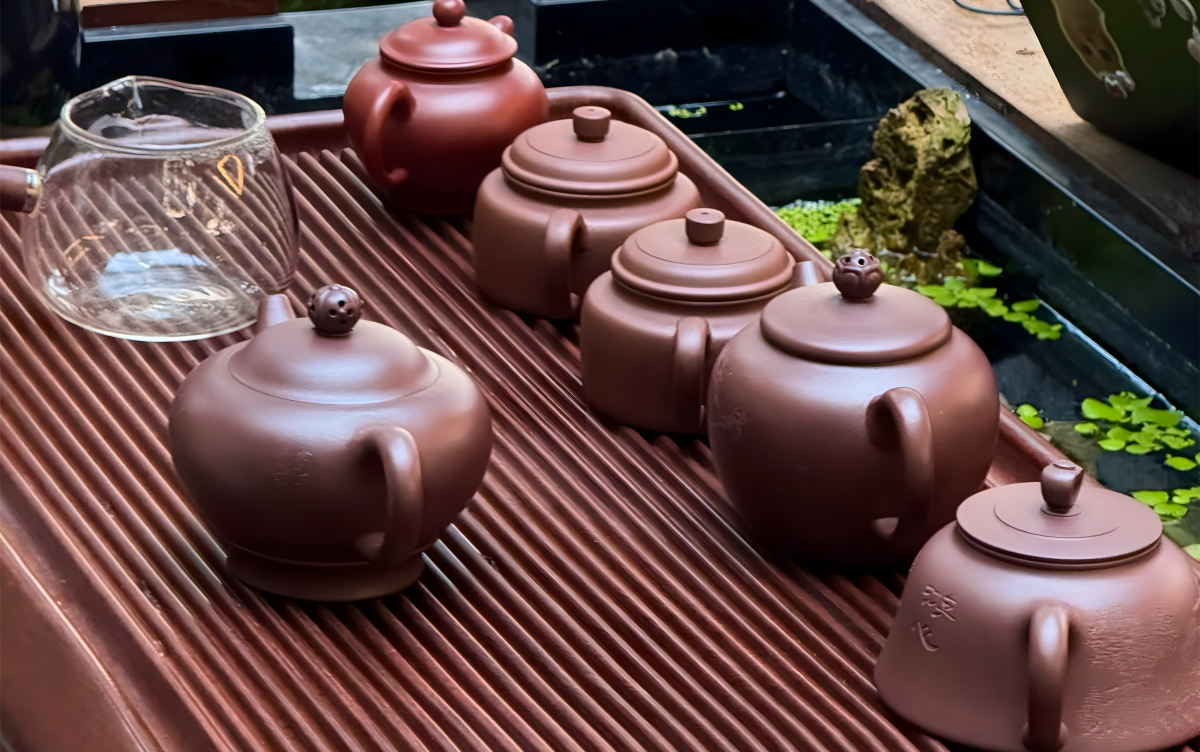
Simple Clay Teapot Ideas for Every Age
When it comes to family and kids projects: easy clay teapot ideas for all ages, not every technique suits every hand. Fortunately, there’s an option for everyone, from tiny tots to adult crafters. Here’s a breakdown of some of the simplest and most rewarding teapot projects you can create together.
Pinch Pot Teapots for Young Kids
For little hands, the classic pinch pot technique reigns supreme. A ball of clay, a little concentration, and a dose of playfulness are all you need. Children simply press their thumb into the center of a clay ball and gently pinch and turn to form the walls. This creates the teapot body. Add a coil for a spout, another for a handle, and a small flattened ball for a lid. The shapes don’t have to be perfect—wobbly teapots are full of charm!
Benefits of pinch pot projects:
Quote from teacher Emily R.: “My preschoolers love making pinch pots. They’re always amazed by how a lump of clay becomes a teapot they can paint and take home.”
Data Source: Evaluation based on The American Ceramic Society’s “Types of Clay for Pottery” (https://ceramics.org/ceramic-type) and technical guides from The Pottery Studio, “Types of Clay” (https://www.potterystudio.com/types-of-clay.html).
Fun Coil or Slab Teapots for Older Kids and Adults
Older kids and adults can try their hand at more advanced techniques like coils and slabs. For coil teapots, roll clay into long, even ropes. Layer and blend the coils together to shape the walls, then form, add a spout and handle, and smooth the surface. Slab method techniques begin with rolling clay into flat sheets, then cutting and assembling the pieces into the desired teapot form.
Why try these techniques?
*Wheel-throwing is best introduced with access to a pottery studio.
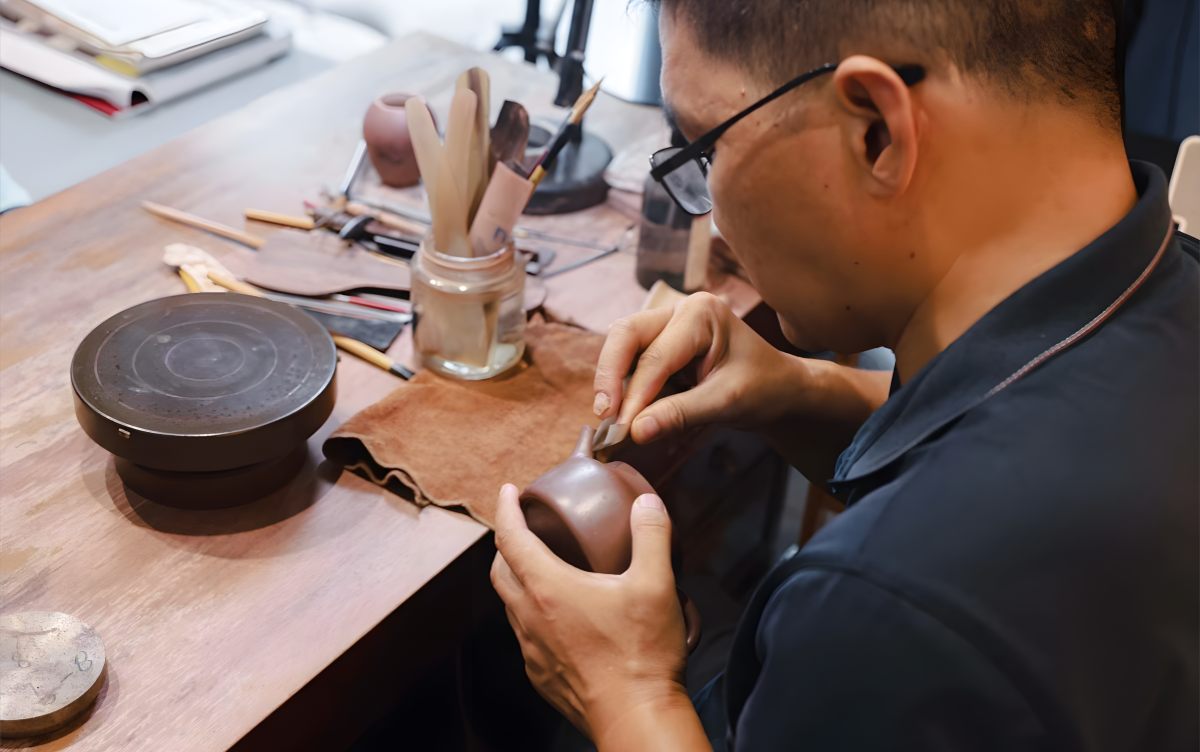
Adaptations for Mixed Age Groups
Families usually include a mix of ages. Adapt projects so everyone can work together:
Pro tip: Use stamps, cookie cutters, or found objects (like leaves or lace) to add surface textures. It’s a simple way to make each teapot unique without advanced skills.
Case Study: The Williams family, with kids ages 4, 9, and 14, worked together to make a teapot for Grandma’s birthday. The youngest molded the base, the middle child rolled coils for the spout and handle, and the teen added painted flowers. The result? A special keepsake filled with family memories.
Whichever route you take, remember: in clay art, the journey is as important as the destination. Celebrate every bobbly spout and wonky lid — it’s these idiosyncrasies that make your family’s clay teapot project your own.
Step-by-Step: How to Make an Easy Clay Teapot
There’s nothing like the exhilaration of watching a humble lump of clay take the shape of a quirky teapot. In this section, we guide you and your family through the journey — whether you opt for the pinch, slab or coil method, these instructions are straightforward and easy to adapt to suit all ages.
Molding the Teapot Body
Pinch Pot Method:
Coil Method:
Slab Method (for older kids/adults):
Tip: Keep clay moist as you work. If it starts to dry or crack, dip your fingers in water and gently smooth the surface.
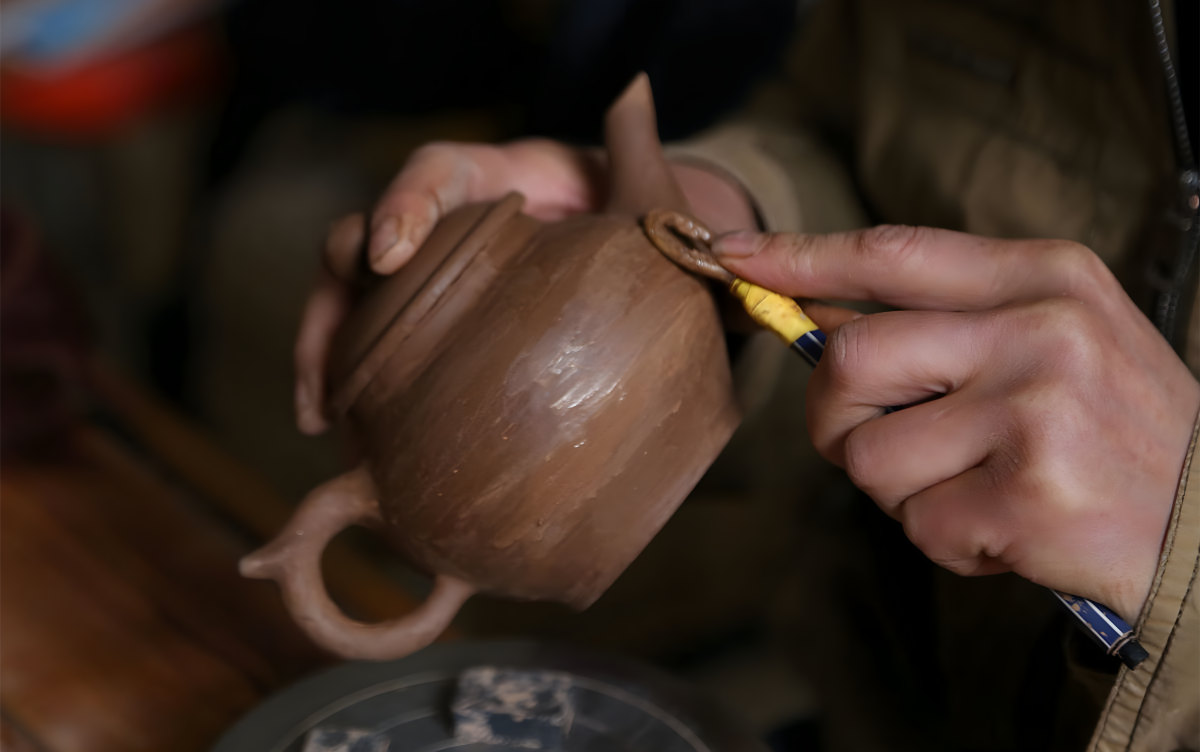
Adding Spout, Handle, and Lid
Spout: Roll a small coil, then shape it into a tapered tube. Attach it to the side of the teapot by scoring (making small scratches) both surfaces, add a bit of water, and press together. Smooth the join with your finger or a tool.
Handle: Roll out another coil, then bend it into a “C” or “D” shape. Attach to the opposite side of the spout, using the same score-and-slip method.
Lid: Flatten a ball of clay slightly larger than the teapot opening. Shape it to fit snugly; add a small knob or handle on top. For safety, make a tiny vent hole in the lid to let steam escape if you plan to use the teapot for actual tea.
Decorating and Personalizing Your Teapot
This is where creativity shines! Use tools, stamps, or everyday objects (like leaves or lace) to add texture. Press in patterns, carve designs, or simply smooth the surface for painting later.
For young kids: Stick to bold colors and simple patterns. Fingerprints add a personal touch.
For older kids/adults: Try underglaze pencils or fine brushes for detailed artwork.
Painting and Glazing: Let the teapot dry completely before painting. Use non-toxic acrylics for air-dry clay. For ceramic clay (intended for use), apply food-safe glazes, and fire according to instructions.
Fun fact: Plenty of famous ceramicists got their start by playing around with teapots and mugs when they were children!
Drying, Painting, and Finishing
Air-dry clay takes about 24-72 hours to dry, depending on the thickness of the clay and humidity in the air. Put your finished teapot in a safe place to dry, turning it every once in a while so all sides get exposed to air.
For oven-fired clay: Check the clay’s instructions for specific drying and firing times.
For air-dry clay: Paint the teapot after it’s totally dry. You can also seal it with a clear acrylic spray to make it more durable.
3 common drying issues and how to fix them:
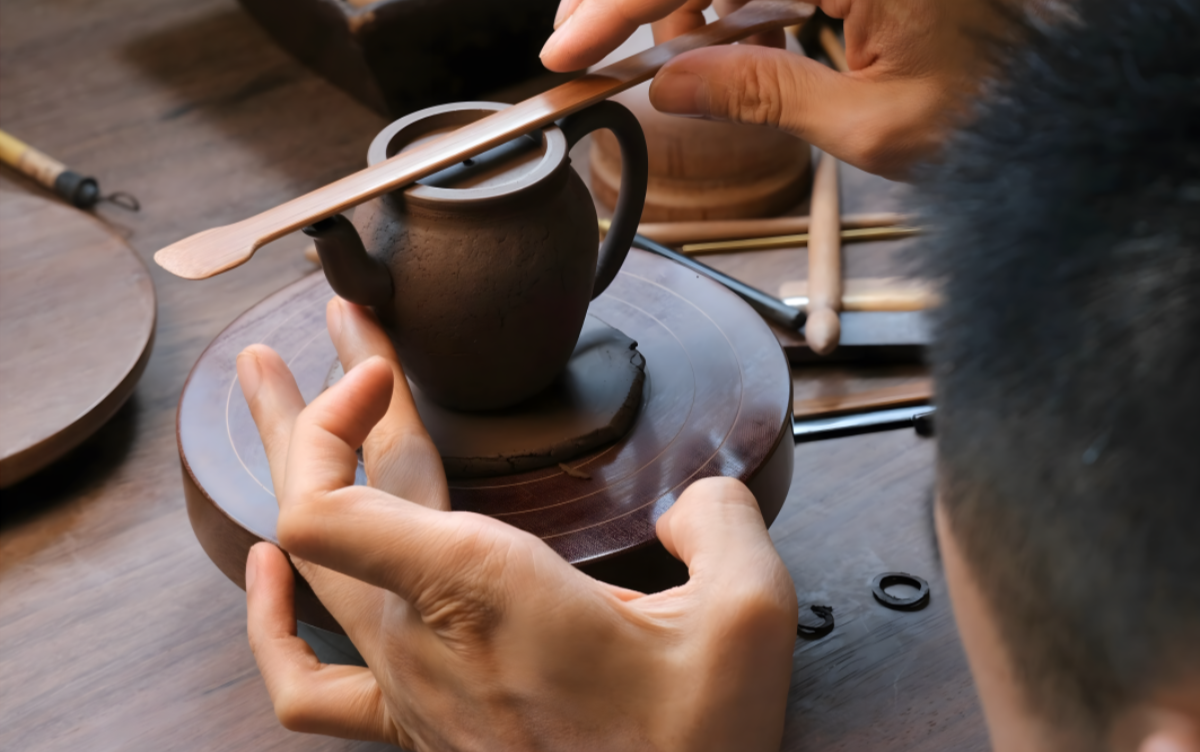
With patience and teamwork, your family will have a unique clay teapot to proudly display or handle with care. Each clay teapot tells a story – remember to sign and date yours on the bottom!
| Clay Type | Pros | Cons | Best For |
|---|---|---|---|
| Air-dry clay | No kiln needed, easy cleanup | Not food-safe, can be fragile | Kids, quick projects |
| Ceramic clay | Durable, can be food-safe | Needs kiln, more prep required | Teens, adults, real use |
| Polymer clay | Bright colors, oven-bake | Small size, not food-safe | Tiny teapots, crafts |
Tips, Tricks, and Frequently Asked Questions
Every family and kids project presents its own set of questions and helpful surprises. Making easy clay teapots is no different! Below you’ll find top tips, common troubleshooting steps, and answers to the top FAQ about family and kids projects: easy clay teapot suggestions for all ages.
How to Avoid Cracks and Breaks
Cracks appear when you least expect them, but a few guidelines can tip the odds in your favor.
Best Ways to Paint and Glaze Teapots with Kids
Decorating is often young ceramicists’ favorite step! For an air-dry finish, use bright colors of non-toxic acrylic paints. Finish with a clear coat of acrylic sealer to keep colors bright. For a kiln-fired finish, use food-safe glazes if your teapot will hold tea.
Decorating ideas:
Fact: According to a 2024 survey by Family Craft Magazine, 82% of parents said their children’s favorite part of clay projects was painting and decorating.
Quick List: Do’s and Don’ts for Clay Teapot Projects
With these tips and answers, your family can enjoy stress-free, joyful clay crafting—turning every session into a new adventure.
| Age Group | Best Technique | Key Skills Developed |
|---|---|---|
| 3-6 years | Pinch pot | Fine motor, imagination |
| 7-12 years | Coil or slab | Sequencing, patience |
| Teens & adults | Slab, coil, wheel* | Design, precision |
Data Source: Evaluation based on guidelines from The American Ceramic Society’s “Teaching Clay to Children” (https://ceramics.org/education/resources-for-educators) and the National Art Education Association (NAEA) “Developmental Stages of Children’s Art” (https://www.arteducators.org/research/research).
Show Off Your Family’s Clay Teapot Creations
Finishing a clay teapot project isn’t just about the process—it’s about celebrating your family’s creativity and sharing the results with pride. Whether your teapots are functional or simply decorative, displaying them can inspire others and build confidence, especially in young artists.
Display Ideas for Home and Gifts
Home Display:
Gift Ideas: Handmade clay teapots make heartfelt gifts for grandparents, teachers, or friends. Pair a teapot with a bag of specialty tea, or add a hand-painted card for extra flair. Remember to note whether the teapot is decorative or functional before gifting.
Fact: According to GiftGiver Magazine (2023), 68% of people say handmade gifts are the most meaningful and memorable.
Sharing and Celebrating Your Projects
Photo Sharing: Take your best staged photos of your teapots in natural light. A neutral background will allow the shapes and colors you’ve chosen to really shine. Post your family’s handiwork to social media and add a hashtag like #FamilyClayProjects or #KidsArtTeapot. For privacy, avoid including anyone’s faces in the shot, and center the art!
Community Involvement: Host a mini “art show” at your house. Invite your neighbors or extended family over to enjoy the collection. Make ballots available for “Most Creative,” “Funniest Spout,” or “Brightest Colors” to encourage interaction. Your local library, community center, or coffee shop may display family art projects from time to time. Contact them to find out if your family can put your teapots on display for a month.
Celebration Rituals: Make the end of construction into a ritual your whole family looks forward to. Prepare a family tea party to unveil each teapot, and serve cookies with your tea! Make it a tradition to enjoy eating around the table while talking about how everyone’s teapot was made, and you’re sure to want to make a habit out of clay crafting.
Quote from a happy parent: “Seeing our teapots lined up on the kitchen shelf reminds my kids that their creativity matters. Every time someone visits, there’s a new story to tell.”
Celebrating your family’s clay teapot creations isn’t just about showing off—it’s about marking your collective achievement and inspiring further artistry. The pride on a child’s face when their work is admired is priceless, and these moments become treasured memories for years to come.
Conclusion
Making clay teapots together is not only a creative experience crafting and shaping earth and water into a teapot, it is also a collective and collaborative experience that joins together all age groups, and one where each individual is able to contribute within their own skill levels. In this way children are able to feel that their creativity is valued and doesn’t always have to be channelled towards perfectionist ideals, and adults are able to support and help them to acheive their own designs and ideas. Family and kids projects: easy clay teapot ideas for all ages provide a platform where children can explore their artistic abilities while adults can reconnect with their own creative spirits.
Here are a few parting tips to keep in mind as your creative journey continues:
If you want to continue creating with clay, try your hand at mugs, bowls, ornaments, or even statues!
As they say: “Families that make art together, grow together.” Get your clay, grab the gang, and start your teapots. Your next great work—and your next great memory—are all in your hands.


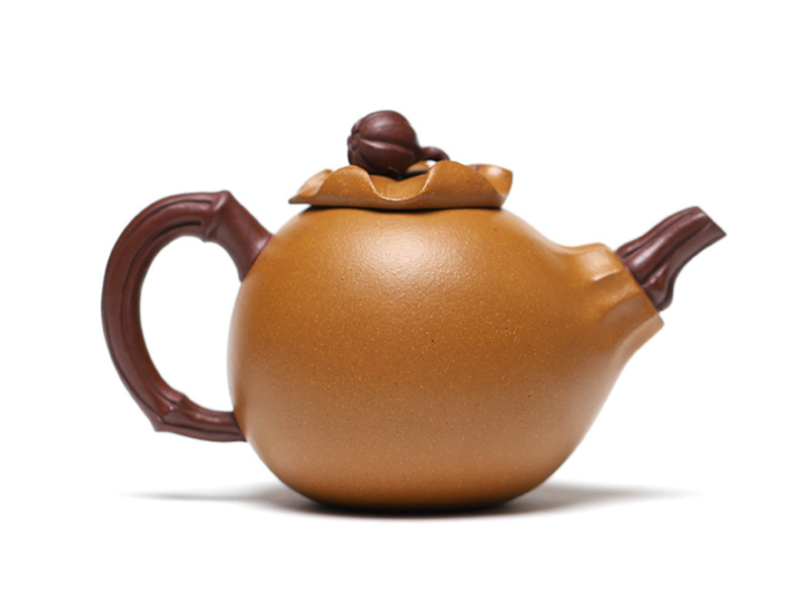


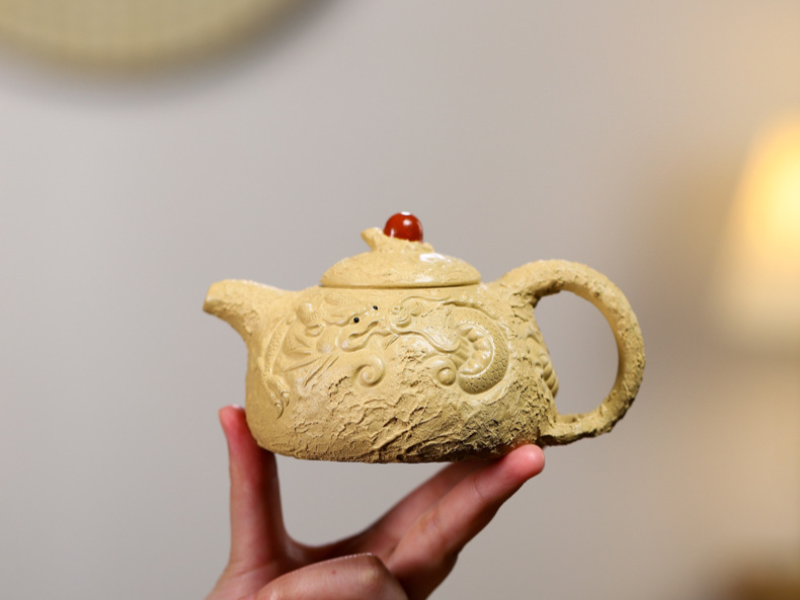



 traditional chinese tea set for cultural gatherings